How to Fish Live Shad for Striped Bass
Many Oklahoma anglers dream of landing a trophy striped bass, but finding the right bait and knowing how to present it effectively can feel like trying to solve a complex puzzle. It’s frustrating when you know the stripers are out there, but your artificial lures just aren't cutting it. This comprehensive guide will walk you through the art and science of fishing live shad for striped bass, a proven method that often makes all the difference, helping you turn those frustrating days into memorable catches.
The Allure of Live Shad for Oklahoma Stripers
There’s a reason why seasoned striped bass anglers in Oklahoma often swear by live shad. It's not just a preference; it's a profound understanding of what truly appeals to these powerful, predatory fish. When other baits fail, a lively shad often delivers. The simple truth is, you're offering them what they naturally hunt and eat, and that's an advantage you simply can't ignore.
Mimicking Natural Prey: Why Shad are a Primary Food Source
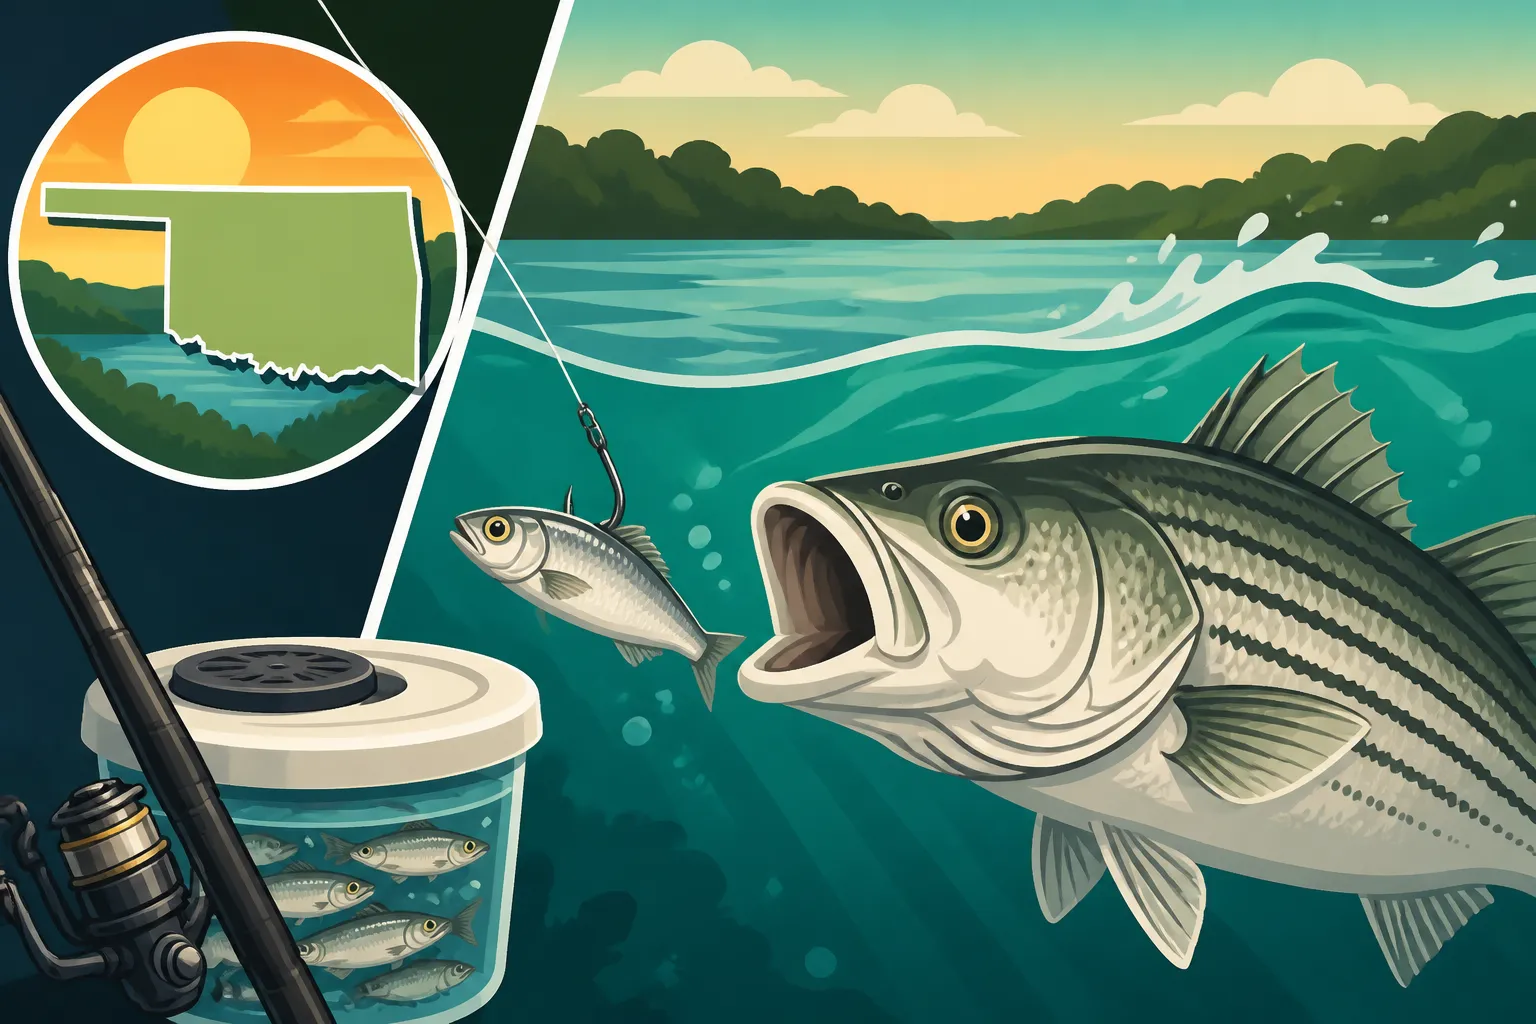
Think about it from a striper's perspective. Their world revolves around finding food, and in many of Oklahoma's major reservoirs, threadfin and gizzard shad are absolutely at the top of their menu. These baitfish form the cornerstone of the aquatic food chain, constantly schooling and migrating, making them a readily available, high-protein meal for hungry stripers. When you present a live shad, you're not just offering a bait; you're offering a genuine meal that looks, smells, and behaves exactly like what they're programmed to chase.
It's not just about the species, but the size too. Striped bass are opportunists, and they prefer a substantial meal that expends minimal energy to catch. A 4-7 inch live shad is typically perfect, providing enough bulk to attract larger stripers without being too cumbersome for them to swallow. Trying to catch stripers on anything else can sometimes feel like trying to convince a steak lover to settle for a cracker – they might bite if they’re desperate, but they’ll always prefer the real deal.
The Irresistible Presentation: How Natural Movement Triggers Strikes
Artificial lures, no matter how lifelike, can never quite replicate the frantic, natural movements of a live baitfish. A live shad, hooked correctly, will dart, twitch, and swim with an urgency that screams "easy meal" to a lurking striper. This inherent, unpredictable movement is what often triggers an instinctive strike, even when the fish are less aggressive or "finicky."
Consider a calm morning on Lake Texoma. You might be casting various topwater plugs or swimbaits, getting a few interested looks but no solid commitments. Then, you switch to a live shad, dropping it near a submerged hump. That shad, swimming naturally, struggling just enough on the line, sends out subtle vibrations and visual cues that no artificial bait can match. A curious striper, initially hesitant, might investigate, and that unique, struggling motion could be the final trigger that prompts it to engulf the bait. This is especially crucial when targeting larger, more wary stripers that have seen every lure in the tackle shop.
Acquiring and Keeping Your Live Shad Kicking
One of the biggest hurdles for anglers who want to fish with live shad is getting them and, more importantly, keeping them alive and healthy enough to be effective. It’s a commitment, but the payoff can be huge. There's nothing worse than having a cooler full of dead bait before you even make your first cast.
Catching Shad: Cast Nets and Techniques
The primary method for acquiring live shad is by using a cast net. This isn't just a matter of tossing it out; there's an art to it. First, you need to locate the shad. Look for them in shallow coves, around boat docks, under bridges, or near creek channels, especially during the early morning hours or late evening when they are often near the surface. Keep an eye out for subtle ripples, flicks, or even small schools "nervously" dimpling the water. Your fish finder, specifically a good Fish Finder Features That Matter Most on Oklahoma Reservoirs, can also be invaluable for spotting bait schools deeper in the water column.
Once you’ve found them, approach quietly. Shad are easily spooked. A good cast net, typically a 6 to 8-foot net with 3/8 inch mesh, is ideal. You can find a wide selection of cast nets on Amazon, often with varying weights and designs suited for different depths. Practice your cast net throw until you can open it fully and accurately, covering a wide area. A well-thrown net can catch dozens of shad in a single toss. Immediately upon retrieving the net, carefully transfer the live shad to your livewell, handling them as little as possible to minimize stress and scale loss.
Maintaining Shad Health: Livewells, Oxygen, and Water Quality
Keeping shad alive requires a proper livewell system. A good livewell is more than just a bucket of water; it’s a carefully managed environment. Here are the critical components:
- Size Matters: The larger the livewell, the better. Overcrowding is a death sentence for shad. Aim for at least 1-2 gallons of water per dozen medium-sized shad.
- Aeration/Oxygen: This is non-negotiable. Shad have high oxygen demands. You'll need a powerful aerator or oxygen system to keep the water saturated with oxygen. Many anglers use portable battery-powered aerators, which can be found readily on Amazon, to supplement their boat's built-in system. Some even go a step further with pure oxygen systems, especially for long days on the water or when trying to keep a large quantity of bait.
- Water Quality and Temperature: Shad are sensitive to drastic temperature changes and poor water quality. Fill your livewell with water from the lake where you caught the shad, ensuring the temperature matches. Avoid putting shad into tap water directly. As the day progresses, ammonia builds up in the livewell from the fish waste, which is toxic. Changing a portion of the water every few hours (if possible, with fresh lake water) can help, or using livewell additives designed to neutralize ammonia and remove chlorine. Some anglers even add a block of ice (made from purified water, not tap) to slowly melt and keep the water temperature stable and slightly cooler on hot days, which can reduce stress on the bait.
Troubleshooting Common Livewell Issues: What Goes Wrong and How to Fix It
Even with the best intentions, livewells can be tricky. Here are some common problems and solutions:
- Shad Dying Quickly:
- Problem: Not enough oxygen. Solution: Check your aerator. Is it running strong? Do you have enough air stones? Consider adding a second aerator or upgrading to a more powerful one.
- Problem: Overcrowding. Solution: Reduce the number of shad in the livewell. It’s better to have fewer lively shad than many dying ones.
- Problem: Water temperature shock or contamination. Solution: Ensure the water added to the livewell matches the lake water temperature. Use de-chlorinators if you must use tap water briefly, or stick to lake water only. Avoid sun exposure on the livewell which can quickly heat the water.
- Shad Losing Scales/Becoming Lethargic:
- Problem: Poor water quality/ammonia buildup. Solution: Use livewell treatments that bind ammonia. Consider partial water changes.
- Problem: Excessive handling. Solution: Minimize touching the shad. Use a small net to retrieve them from the livewell.
- Problem: Too much turbulence. Solution: Ensure your livewell is smooth inside and doesn't slosh too violently when the boat is moving. Some livewells have baffles to reduce sloshing.
Keeping your shad frisky is paramount. A lively shad is what really makes the difference when fishing for striped bass, so invest time in understanding your livewell system.
Mastering Live Shad Rigging and Fishing Techniques
Once you've got a healthy supply of live shad, the next step is to rig them correctly and present them in a way that maximizes your chances of hooking up with a big striper. There’s more than one way to do it, and the best method often depends on the conditions and how the fish are behaving.
Basic Rigging Methods: Hook Placement for Different Presentations
The goal of rigging live shad is to keep them alive and swimming naturally while ensuring a solid hookset. Here are the most common methods:
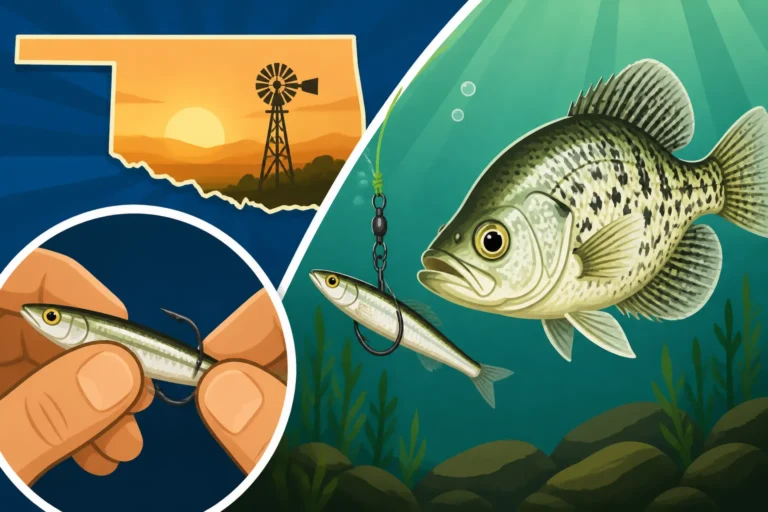
- Nose Hooking: This is a very popular and versatile method. Run a small, sharp treble hook or a strong circle hook (size 1 to 2/0, depending on shad size and preference) through both nostrils of the shad. This allows the shad to swim freely and naturally. It's excellent for drifting or free-lining where you want maximum natural movement. The hook stays clear, minimizing snags, and allows for a clean hookset.
- Back Hooking: If you want the shad to swim downward or stay deeper, hook it lightly through the skin just in front of the dorsal fin. Be careful not to damage the spine, which will kill the bait or severely limit its movement. This is good for slow trolling or when fishing in areas where stripers are holding deeper, and you want the shad to present a slightly distressed look.
- Tail Hooking: When stripers are aggressive and striking from behind, or if you want the shad to swim upwards or erratically, hook it through the meaty part of the tail, again, avoiding the spine. This can make the shad swim away from the boat or upward, creating a commotion that attracts attention. This method can sometimes lead to more short strikes if the striper doesn't fully engulf the bait.
For all methods, use a fluorocarbon leader of 20-30 lb test, about 2-3 feet long, tied to your main line. This provides invisibility in the water and abrasion resistance. Attach a swiveling sinker (egg sinker or bullet sinker, 1/2 oz to 2 oz depending on depth and current) above the leader to get your bait down. You'll want to use strong, high-quality hooks; cheap hooks bend out easily under the pressure of a fighting striper. If you're looking for Best Rods and Reels for Oklahoma Fishing, consider a medium-heavy spinning or baitcasting rod, paired with a reel spooled with 15-20 lb monofilament or braid.
Fishing Strategies: Drifting, Slow Trolling, and Free-Lining
How you deploy your rigged shad is just as important as how you rig it.
- Drifting: This is perhaps the most natural presentation. Simply put your boat in position over a likely striper haunt (like a submerged creek channel, hump, or deep break line) and let the wind or current move you slowly. Use just enough weight to keep your shad at the desired depth. You can often run multiple lines at different depths to cover more water. This is incredibly effective when stripers are scattered or not actively chasing. Many anglers find success drifting live shad on spots where they’ve previously located schools of Oklahoma's Striped Bass: An Introduced Species Guide.
- Slow Trolling: If the fish are deeper or spread out over a large area, slow trolling with your electric trolling motor can be highly effective. Use heavier weights or planer boards to spread your lines and cover a broader swath of water. Maintain a speed just fast enough to give your shad a natural swimming action, usually around 0.5 to 1.5 mph. This technique is particularly popular at times like Lake Texoma May Striper Fishing in Oklahoma, when fish are actively feeding. You can learn more about Trolling Gear for Striped Bass at Oklahoma's Lake Texoma to optimize your setup.
- Free-Lining: When stripers are busting bait on the surface or near it, free-lining is the ticket. Simply cast a nose-hooked shad with no weight (or minimal weight) into the feeding frenzy. The shad will swim frantically, often triggering an immediate strike. This is exhilarating, visual fishing that requires quick reactions.
Targeting Stripers with Live Shad: Where to Find Them and How to Present the Bait
Finding striped bass is half the battle. They are highly migratory and can be found from open water chasing bait to deep structure. Using your electronics, learning How to Find Striped Bass Schools with Sonar, is critical. Look for bait balls, arches on the bottom, or even active feeding on the surface.
When you drop your live shad, remember to let the fish tell you what they want. Sometimes they prefer the shad right on the bottom, sometimes suspended in the water column. Always be ready for a strike. Stripers hit hard, often pulling the rod right out of an unattended holder.
Here's a quick comparison of live shad rigging methods:
| Rigging Method | Best For | Shad Action | Pros | Cons |
|---|---|---|---|---|
| Nose Hook | Drifting, Free-lining, Casting | Natural, forward swim | Max natural movement, high survival | Can be swallowed deeply |
| Back Hook | Slow Trolling, Deeper Water | Downward, distressed | Presents a "wounded" look, good depth | Can injure shad, reduce movement |
| Tail Hook | Aggressive fish, Upward swim | Erratic, escape attempt | Triggers reactionary strikes | More short strikes, potential for less natural movement |
Always be mindful of your line. Use a good quality fishing line, and check for nicks and abrasions regularly, especially when fishing around structure. Investing in quality Best Live Bait for Striped Bass Fishing is crucial, but making sure it's presented correctly is what seals the deal.
Optimal Conditions and Locations for Live Shad Fishing
Knowing how to fish live shad is one thing, but knowing when and where to apply these techniques in Oklahoma's diverse waters will truly elevate your success. Stripers are creatures of habit, yet adaptable, making seasonal understanding key.
Seasonal Considerations: How to Use Live Shad Throughout the Year
Striped bass behavior, and thus the effectiveness of live shad, shifts dramatically with the seasons in Oklahoma.
- Spring (Pre-Spawn/Spawn): This is a prime time for live shad. As water temperatures rise, stripers become incredibly active, feeding heavily in preparation for spawning. They often move into shallower areas, creek channels, and even river arms, making them easier to target. Live shad free-lined or slowly drifted near these spawning grounds can be irresistible. This is when you might see incredible topwater action, but live shad beneath the surface can often catch the bigger, more wary fish. For those interested in deeper insights, exploring Oklahoma Fishing Seasons: A Month-by-Month Guide provides a fantastic overview of what to expect.
- Summer: As temperatures soar, stripers often retreat to deeper, cooler waters. You'll find them congregated around thermoclines, submerged humps, and deep structure. This is when deep-water presentations with live shad become crucial. Deep Water Striper Fishing Techniques employing heavy weights or downriggers to get your shad into the strike zone are highly effective. Night fishing with live shad under lights can also be phenomenal as stripers come up to feed on bait drawn to the light. Look for schools of bait and stripers near these deeper haunts, often using your electronics to locate them.
- Fall: The fall turnover and cooling water reinvigorate stripers, often leading to explosive feeding frenzies. They'll chase shad aggressively, often pushing them to the surface. Both free-lining and slow trolling with live shad can be incredibly productive during this season, especially in the mornings and evenings. The fish are often more active for longer periods, making it one of the Best Time of Year to Fish in Oklahoma for stripers.
- Winter: Don't count out winter. While activity slows, stripers still need to eat. They tend to school tightly in deep holes, channel bends, and around warmer water discharges (if any). Slowly vertical jigging or drifting live shad directly over these deep schools can yield impressive results. Patience is key, as bites might be subtle, but the fish caught can often be large.
Prime Oklahoma Waters: Mention Lake Texoma Specifically, and Other Potential Spots
When it comes to striped bass, Lake Texoma stands as the undisputed king in Oklahoma. It's a massive, fertile lake straddling the Oklahoma-Texas border, renowned for its incredible striper fishery. If you're going to learn How to Fish Live Shad for Striped Bass, Texoma is the classroom, and often, the proving ground. The sheer volume of shad and stripers here creates a perfect environment for this technique. Anglers often flock to this lake for dedicated striper trips, and using live shad is a top strategy, especially during peak seasons like May.
However, other Oklahoma lakes also hold healthy populations of striped bass and hybrid stripers, where live shad can be equally effective:
- Lake Keystone: Known for its good numbers of white bass and hybrid stripers, especially in the river arms. Live shad here can entice some serious hybrid action.
- Lake Eufaula: Oklahoma's largest lake by surface area, it holds a decent population of stripers and hybrids. Its vast open water and numerous creek channels provide ample opportunity to find feeding fish with live shad.
- Arkansas River System: Below major dams like Keystone and Eufaula, the tailwaters can hold transient populations of stripers and hybrids, especially during cooler months or high water, offering unique opportunities for those targeting river fish.
Before you head out, always consult the Oklahoma Department of Wildlife Conservation's current regulations for specific lakes, as bag and length limits can vary, even for striped bass. Planning your trip around the best spots and understanding the seasonal patterns for specific species will undoubtedly increase your chances of success. A great starting point for exploring these opportunities is by looking into the Best Fishing Spots in Oklahoma. Whether it’s Texoma or another prime spot, getting out there with live shad is one of the most exciting and rewarding ways to chase striped bass.
Disclaimer
This article is for general informational purposes only and does not constitute professional advice. Laws, prices and regulations vary by location and change over time. Consult a qualified professional for guidance on your specific situation.